Perfect little thing to sew if you happen to find some adorably cute piece of fabric. They basically consist of light cotton fabric, cotton bias-tape in a matching colour, elastic band and a satin bow for decoration. And a little pocket at the back.
The latest design is white with cute little red hearts, the next one will be with "kiss me"-text design ^^
My humble collection of costumes - historic clothing all through the ages as well as not strictly period dresses.
Wednesday, 29 October 2014
French Royal Banners
I admit a slight obsession with fleur-de-lys ever since... - well, let me just assure you there's a very good reason behind each and every of my whims ;) Hence I decided we need some decoration for our liveroleplays and I will stitch a banner.
The idea:
The fleur-de-lys are sized A4, so the whole thing is pretty big. And as I couldn't decide whether to make a banner with six A4-sized or with three A3-sized lilies, I went for both. Why decide if you can have it all ;)
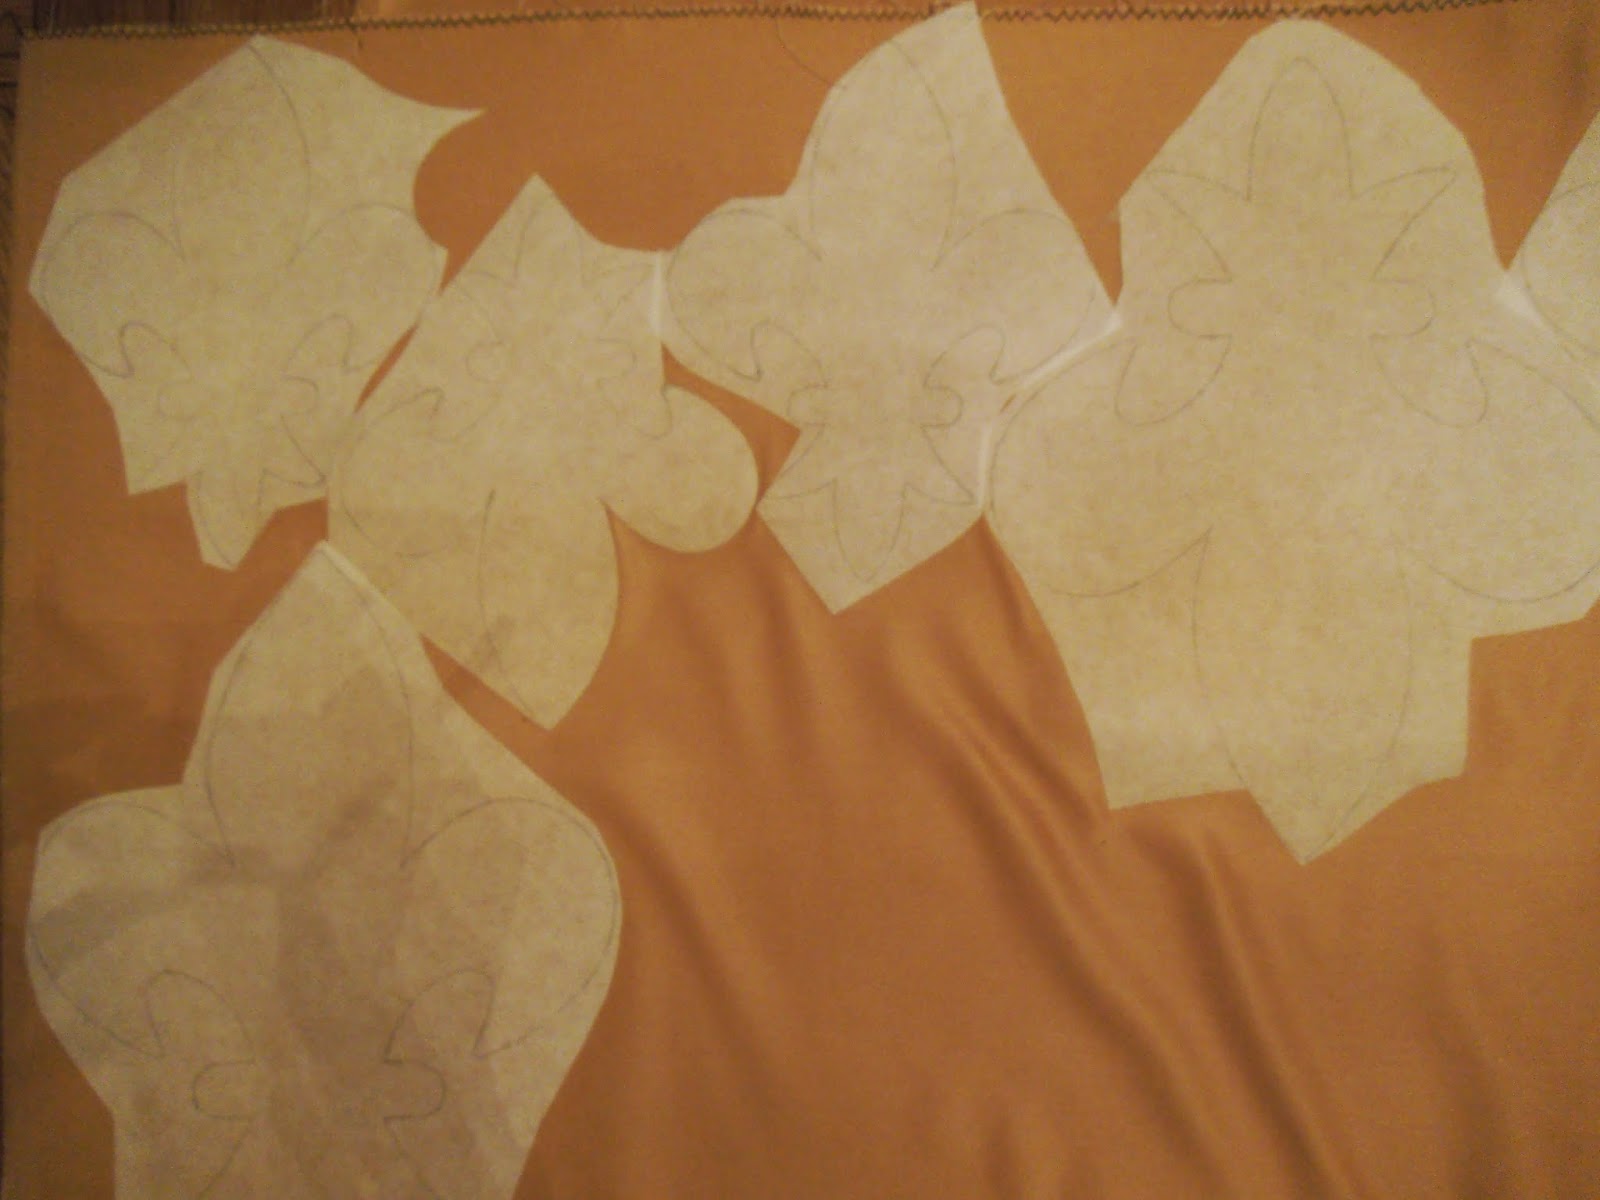
Miraculously I found some crincle-free blue fabric, yellow for the reverse and even golden satin for the fleur-de-lys with ease. And matching trim. And perfectly matching thread! Fate clearly favours the mad... I happened to find a roll of iron-on interfacing in my store (that I had bought previously for the sole reason that it was cheap and one might need 10+ metres of interfacing some day) to enforce the satin and make smooth, shiny lilies. Here they are, drawn, ironed-on and ready for cutting.
And to motivate myself for the tedious and meticulous (and thus swear-worthy) job of pinning them in place exactly and zig-zagging them onto the banner, I did a trial-version of each:
The banner itself is lined with plain, heavy fabric to enforce it, then the fleur-de-lys are sewn on.
And then comes the really tedious part... As a plain edge would be boring, I bought golden cord to frame the whole thing. Let's just say it took a lot of effort and other things to pin and sew it straight.
The idea:
The fleur-de-lys are sized A4, so the whole thing is pretty big. And as I couldn't decide whether to make a banner with six A4-sized or with three A3-sized lilies, I went for both. Why decide if you can have it all ;)
Miraculously I found some crincle-free blue fabric, yellow for the reverse and even golden satin for the fleur-de-lys with ease. And matching trim. And perfectly matching thread! Fate clearly favours the mad... I happened to find a roll of iron-on interfacing in my store (that I had bought previously for the sole reason that it was cheap and one might need 10+ metres of interfacing some day) to enforce the satin and make smooth, shiny lilies. Here they are, drawn, ironed-on and ready for cutting.
And to motivate myself for the tedious and meticulous (and thus swear-worthy) job of pinning them in place exactly and zig-zagging them onto the banner, I did a trial-version of each:
The banner itself is lined with plain, heavy fabric to enforce it, then the fleur-de-lys are sewn on.
And then comes the really tedious part... As a plain edge would be boring, I bought golden cord to frame the whole thing. Let's just say it took a lot of effort and other things to pin and sew it straight.
Wednesday, 3 September 2014
Quick'n'easy musketeer hat
You need:
- a broad-brimmed fedora - the kind you usually get in any fashion store in autumn
- 1 - 1.2 mm wire, as long as the outer circumfence of the brim
- same lenght of woven trim or ribbon or bias tape in a matching colour
- matching thread
1) Put the edge of the brim into the sewing machine and let the wire run right alongside while you zig-zag around. Overlap the wire ends a little so you get a smooth connection.
2) Cover the whole edge with trim/ribbon, putting it around the wired edge in U-shape. Again, overlap the edges a little and finish the visible end neatly by hand.
3) Add a hatband in a matching colour.
4) Take two or three ostrich plumes and sew them to the hatband on the side of the hat that will afterwards be tucked up.
5) Put one side of the brim up and either pin it to the crown with a small, decorative pin, or sew it up with a cross-stitch in matching thread. Finito! :)
- a broad-brimmed fedora - the kind you usually get in any fashion store in autumn
- 1 - 1.2 mm wire, as long as the outer circumfence of the brim
- same lenght of woven trim or ribbon or bias tape in a matching colour
- matching thread
1) Put the edge of the brim into the sewing machine and let the wire run right alongside while you zig-zag around. Overlap the wire ends a little so you get a smooth connection.
2) Cover the whole edge with trim/ribbon, putting it around the wired edge in U-shape. Again, overlap the edges a little and finish the visible end neatly by hand.
3) Add a hatband in a matching colour.
4) Take two or three ostrich plumes and sew them to the hatband on the side of the hat that will afterwards be tucked up.
5) Put one side of the brim up and either pin it to the crown with a small, decorative pin, or sew it up with a cross-stitch in matching thread. Finito! :)
Grey mitts
I found the pattern, called Hedgerow Mitts, here and it's fast and easy to knit and really beautiful. I mean, I hardly have anything grey to go with these mitts, but they had this nice yarn and I really like natural sheep colours... I fear I need a matching pullover :D
Off-white mitts
Very nice to work, and rather quickly finished. I found the pattern on the internet and some nice-price wool in the store, and although I never wear fingerless mitts and don't see the point of wearing fingerless gloves when my fingertips naturally are the coldest part of my hands, due to other reasons I decided that I want a pair of mitts now. And they have one huge advantage: they're finished BEFORE the winter is over, not the following summer, like pullovers ;)
Wednesday, 20 August 2014
New pair of hanging pockets
If another baroque reenactment is coming up and you have nothing but non-period stuff to hand-sew, what do you do? Of course, you create another absolutely unnecessary project for yourself - like embroidering yet another pair of pockets that noone but your most intimate friends will ever see! ;) Same cut and procedure as last time, only this time not striped and in blues but white with colours. Let's see where my creativity leads me! Pics to come...
Tuesday, 19 August 2014
Summer dress with flowers
I sometimes also sew clothes for everyday use. You can tell by the amount of real-life clothes I posted here that I clearly have a penchant for costumes, though... ;) The fabric I found is machine-embroidered in a large, floral pattern, black and white. The fabric itself is rather sheer, so I have to line all parts with white lining silk.
The complete design was done by me, and it's quite simple: the skirt is a half-length of fabric, worked with french seam at the back and hemmed by hand.
The body part is modelled on the dummy, but basically it's a piece that goes round once, to which the neckholderbust-piece is attached. A little fumbling with the zipper, as always, but I opted for one instead of the buttons I wanted as closure in the first place because it can hold the strain of a tight fit better than buttons.
The complete design was done by me, and it's quite simple: the skirt is a half-length of fabric, worked with french seam at the back and hemmed by hand.
The body part is modelled on the dummy, but basically it's a piece that goes round once, to which the neckholderbust-piece is attached. A little fumbling with the zipper, as always, but I opted for one instead of the buttons I wanted as closure in the first place because it can hold the strain of a tight fit better than buttons.
Subscribe to:
Posts (Atom)