Wednesday 29 October 2014

Pyjama-hotpants

Perfect little thing to sew if you happen to find some adorably cute piece of fabric. They basically consist of light cotton fabric, cotton bias-tape in a matching colour, elastic band and a satin bow for decoration. And a little pocket at the back.


  The latest design is white with cute little red hearts, the next one will be with "kiss me"-text design ^^

French Royal Banners

I admit a slight obsession with fleur-de-lys ever since... - well, let me just assure you there's a very good reason behind each and every of my whims ;) Hence I decided we need some decoration for our liveroleplays and I will stitch a banner.

The idea:


The fleur-de-lys are sized A4, so the whole thing is pretty big. And as I couldn't decide whether to make a banner with six A4-sized or with three A3-sized lilies, I went for both. Why decide if you can have it all ;)

Miraculously I found some crincle-free blue fabric, yellow for the reverse and even golden satin for the fleur-de-lys with ease. And matching trim. And perfectly matching thread! Fate clearly favours the mad... I happened to find a roll of iron-on interfacing in my store (that I had bought previously for the sole reason that it was cheap and one might need 10+ metres of interfacing some day) to enforce the satin and make smooth, shiny lilies. Here they are, drawn, ironed-on and ready for cutting.


And to motivate myself for the tedious and meticulous (and thus swear-worthy) job of pinning them in place exactly and zig-zagging them onto the banner, I did a trial-version of each:


The banner itself is lined with plain, heavy fabric to enforce it, then the fleur-de-lys are sewn on.

And then comes the really tedious part...  As a plain edge would be boring, I bought golden cord to frame the whole thing. Let's just say it took a lot of effort and other things to pin and sew it straight.

Wednesday 3 September 2014

Quick'n'easy musketeer hat

You need:

- a broad-brimmed fedora - the kind you usually get in any fashion store in autumn
- 1 - 1.2 mm wire, as long as the outer circumfence of the brim
- same lenght of woven trim or ribbon or bias tape in a matching colour
- matching thread

1) Put the edge of the brim into the sewing machine and let the wire run right alongside while you zig-zag around. Overlap the wire ends a little so you get a smooth connection.

2) Cover the whole edge with trim/ribbon, putting it around the wired edge in U-shape. Again, overlap the edges a little and finish the visible end neatly by hand.

3) Add a hatband in a matching colour.

4) Take two or three ostrich plumes and sew them to the hatband on the side of the hat that will afterwards be tucked up.

5) Put one side of the brim up and either pin it to the crown with a small, decorative pin, or sew it up with a cross-stitch in matching thread. Finito! :)

Grey mitts

I found the pattern, called Hedgerow Mitts, here and it's fast and easy to knit and really beautiful. I mean, I hardly have anything grey to go with these mitts, but they had this nice yarn and I really like natural sheep colours... I fear I need a matching pullover :D

Off-white mitts

Very nice to work, and rather quickly finished. I found the pattern on the internet and some nice-price wool in the store, and although I never wear fingerless mitts and don't see the point of wearing fingerless gloves when my fingertips naturally are the coldest part of my hands, due to other reasons I decided that I want a pair of mitts now. And they have one huge advantage: they're finished BEFORE the winter is over, not the following summer, like pullovers ;)

Wednesday 20 August 2014

New pair of hanging pockets

If another baroque reenactment is coming up and you have nothing but non-period stuff to hand-sew, what do you do? Of course, you create another absolutely unnecessary project for yourself - like embroidering yet another pair of pockets that noone but your most intimate friends will ever see! ;) Same cut and procedure as last time, only this time not striped and in blues but white with colours. Let's see where my creativity leads me! Pics to come...

Tuesday 19 August 2014

Summer dress with flowers

I sometimes also sew clothes for everyday use. You can tell by the amount of real-life clothes I posted here that I clearly have a penchant for costumes, though... ;) The fabric I found is machine-embroidered in a large, floral pattern, black and white. The fabric itself is rather sheer, so I have to line all parts with white lining silk.


The complete design was done by me, and it's quite simple: the skirt is a half-length of fabric, worked with french seam at the back and hemmed by hand. 


The body part is modelled on the dummy, but basically it's a piece that goes round once, to which the neckholderbust-piece is attached. A little fumbling with the zipper, as always, but I opted for one instead of the buttons I wanted as closure in the first place because it can hold the strain of a tight fit better than buttons.

Saturday 16 August 2014

Red summer dress, again with flowers


 The quick and easy way this time - a Burda-pattern. The fabric is light rayon, printed with a floral, summer-y motive almost too romantic for me. But hey, it's summer, after all! (Well, this year's summer was a Wednesday. The rest was autumn that immediately followed a prolongued spring. Guess the dress is for next year.)


It's a seven-part pattern that's made special by its very low cut back and the lacing. The length depends on your taste.

Tuesday 29 April 2014

1880s day dress of white wool

At last a soon-to-be-finished project! I've worn it a couple of times already - thanks again to the inventor of safety-pins! It's made of cream-white wool with diagonally woven-in stripes which invite the avid seamstress to toy with the pattern.

The skirt consists of eight panels instead of the usual six, as I wanted the front and back to show an even zig-zag pattern.

The front of the overskirt is draped as an apron typical for the early 1880s, the back is longer and leaf-shaped. The pleats are secured to a little yoke hidden beneath the basque of the jacket to fall evenly over the bustle.

The jacket was actually intended to be a bodice with a small standing collar, but I miscalculated and the thing turned out too small to close all the way up to the neck, so I turned it into a jacket instead, to be worn with a matching cream silk blouse and a brooch to fasten it beneath the bust. It looks almost as if I had intended it! :D The sleeves are just a little puffed, as was fashionable before they became those monstrously huge assemblages of fabric around 1900. And as in so many of my costumes, the buttons are still missing...


1880s dress "Egyptian" style

To fit the occasion of an Egyptian exhibition, I decided to use up the remnants of a blue-gold striped fabric I once used to make an oriental costume and make them into an "Egyptian" dress like a woman of the 1880s would have worn, toying with the resemblance of the fabric to those typical Pharaoh-headdresses.

The skirt is made of matching blue velvet, 6-panel pattern with train that can optionally be tucked up over the bustle.

The overskirt is going to be an asymmetrical arrangement of that striped fabric. In the beta-version, I just pinned it to the back of the skirt to form a of decorative backside.

The bodice is based on my newly-made perfect pattern ;) , this time high-necked (standing collar of blue velvet still to come) and with long, narrow sleeves (blue velvet cuffs still to come). I wore it with a white blouse that was a complete improvisation ten years ago but still is of excellent use, and it turned out those lace-rimmed ruffles and jabot look really nice with the blue, so I guess I will keep it!

The turban - well, THAT was a complete improvisation. After finishing the skirt and bodice, I ended up with some scraps of fabric and the need for a hat (as every decent Victorian lady needs one), twisted and rolled them, put in some random stitches (yes, really random, it was kind of "lets sew something together and see what the outcome may be") and decorated the thing with golden paper leaves and a small peacock feather. It definitely served the purpose! And in Victorian times they wore all kinds of weird things on their heads anyway...


Monday 27 January 2014

Baroque gown of midnight-blue silk with embroidery

Yes, seems I'm going completely round the bend now, but take two nutters of the same kind and you'll end up with a baroque couple in matching, hand-embroidered costumes. So actually this isn't my fault. At least not entirely ;)

My dress is basically the same pattern as the burgundy gown I made two years ago, only this time I worked with dupioni-silk. No point in investing hours of embroidering on artificial fabric. I'm working with cotton thread nonetheless, as this is going to be just some kind of test-version before I go completely nuts and start silk embroidery - the next dress is already in planning... The colour of the fabric is a beautiful, very dark blue in daylight, seeming almost black in artificial light.


The embroidery:

As the name of the character I'm playing is Marguerite, I decided to work a pattern of little flowers all over the bodice and sleeves, the edges decorated with a pattern similar to wooden trellis. I knew it would cost me hours, but thanks to Dr. Who and various other BBC productions that infiltrate your brain with valuable information on things you never knew were that interesting, quickly made good progress.


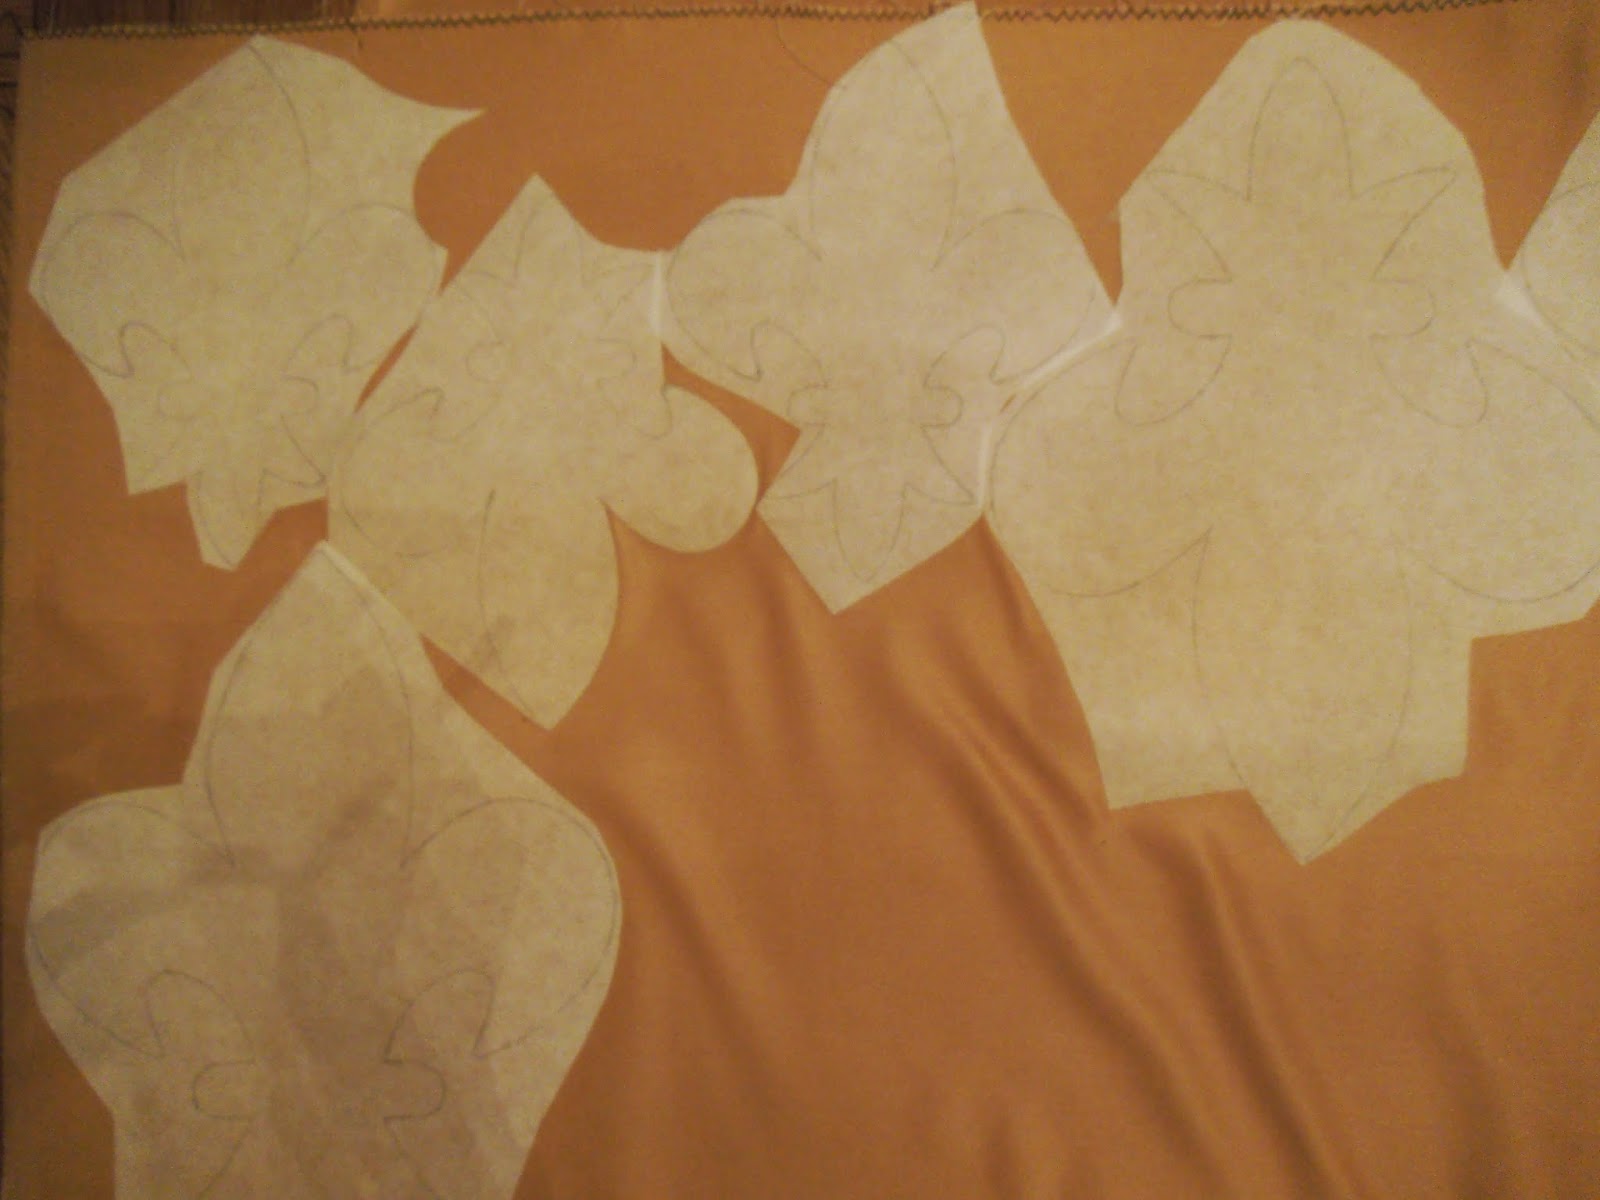
I started with working the trellis-pattern along all the future edges of the bodice and the sleeves in dense herringbone stitch and stem stitch as an outline. Marking the flowers was almost as much work as embroidering them. I fear I'm just too much of a perfectionist... The marking was done in white pencil, as it stays on longer than chalk but still rubs off after some time. The draft was done with five petals, in reality it turned out it looked half-hearted, so there we are with eight spokes on the little marked-out wheels that are to become the marguerites. Each flower is about 1.2 cm in diameter.


The next stage after the marguerites was the leaf border to connect them. I really came to hate those tiny, fiddly leaves that forgive not even the tiniest mistake. But after like a hundred leaves or so you get the knack. Only by then, you're almost through with them anyway! The stems are stem stitch, the leaves satin stitch, and the dots french knots added to create the arcade effect.


And then I could go really crazy and do the little bouquets... Here's a close-up of one, with a french knot in the centre and fly stitches as decoration. They only have six petals, otherwise you couldn't interlace them. And as the flowers were slightly larger than in the sketch, I worked only four of them instead of five and left the stems aside. That made for a literally more well-rounded picture.


With the edges of the bodice nicely framed, I was left with the design of the front, which should be a little more elaborate. I decided to but the bouquets on stems which give the stomacher a nice horizontal balance.


Still there was some space left in the top corners of the front closure. I toyed with some more flowers, but it looked plain. Too many flowers already. I needed something extravagant. And as the dress was designed as my character's engagement gown, I worked the initials of me and my fiancé into the corners. They look as if they had always belonged there right from the first sketch ;)


The sewing:

Basically this dress is the same pattern as my burgundy gown. Only as I did that one in great hurry back then and had no time or nerves for taking pictures, I will post some here.

The bodice consists of four layers: two between which the boning is sandwiched, one top layer (in this case, the embroidered silk), and one lining. All parts are thus cut out and put together so you end up with four bodice shapes, more or less identical in size. I always try to make the outer layers a tad bit larger (we're ralking here only of millimetres), but that's just my perfectionism. I used black cotton twill to carry the boning and light black cotton for the lining.

The inside of the bodice was exactly the same tedious kind of work as my burgundy gown a couple of years ago. You cut all parts twice from sturdy fabric that won't be seen in the final product but will carry all the boning. I used plastic boning that I zig-zagged right onto the fabric of one of the inside layers, this is covered by the second inside layers so no boning is seen anymore, and no plastic edges can dig into your hips. As this second layer will cover the boning completely, you don't have to worry about visible seams, only about the exact position of the boning. I took pictures of the outside and inside. As the boning I used comes by metre in a large roll, it's still bent. In this case, use it the way you will be squeezing it towards your body when the bodice is worn, so it will make a nice shape and gradually adjust to your shape.


I had already forgotten just how much effort it takes to squeeze a fully boned bodice through your sewing machine again and again until all the boning is done...

The sleeves are cut out twice, once from silk and once from cotton for the lining, sewn together on their left sides right beside the embroidery, and turned over to form a neat edge that is now hand-pleated evenly and secured with invisible stitches.

You will want to sew on the hooks and eyes before the embroidered silk layer to avoid visible machine stitches at the front. And once the top fabric has then been hand-stitched onto the boned bodice, you have to maneuvre the whole, stiff thing through the machine again to attach the sleeves and the skirt. I swore. A lot. Because, of course, as always, time was already pressing, and the hours until the ball melted away, and still there was the packing and shopping to do... Which, in the end, thankfully was done for me this time, with the result that indeed we managed to get to the ball in time. What a new experience! :D